The Perfect Flapjack
- Janine Ogden
- Jun 21, 2025
- 2 min read

Now then...I've eaten A LOT of flapjacks in my life. I've baked thousands of the chuffs - we used to sell up to 12 dozen a week in my little sandwich shop.
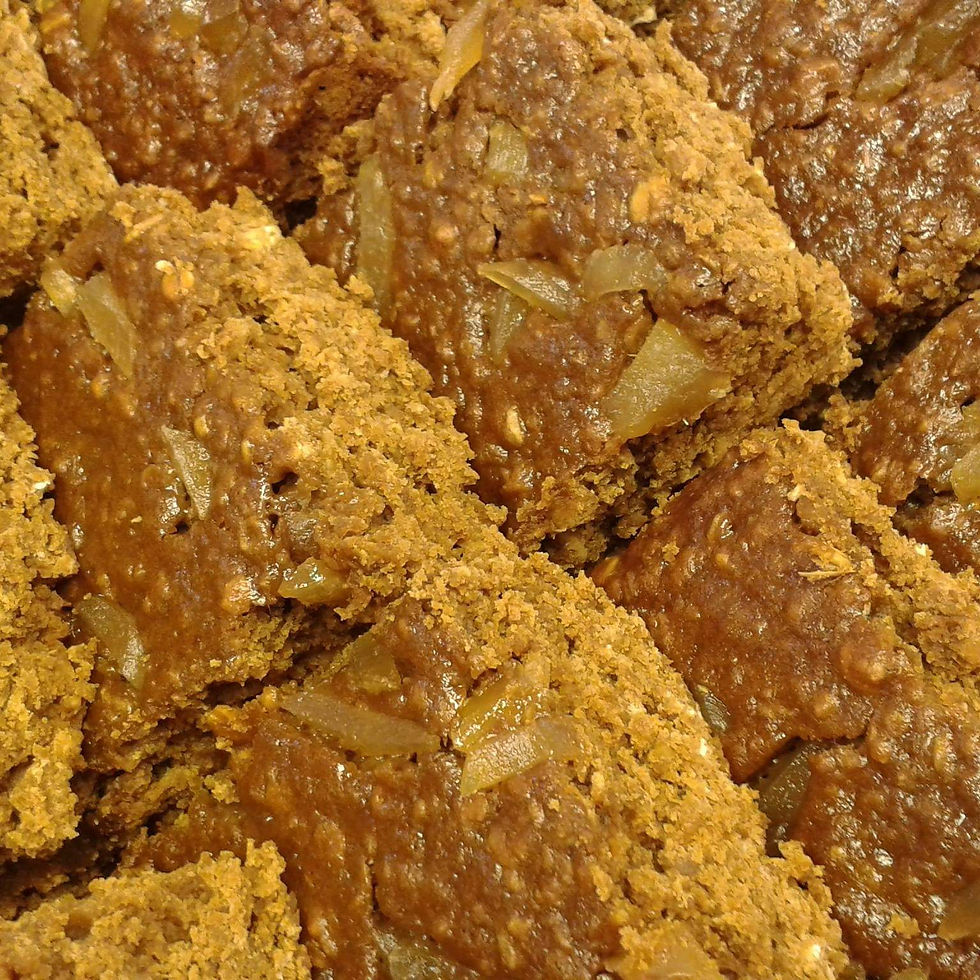
The best ones I tasted were packed with loads of fruit & nuts, and had that bit of extra rich, chewy squishy-ness. Over time I learned that they were the ones made with condensed milk. But sometimes they would edge over into a bit too damp in the middle.
So here I've combined my original, traditional recipe with the more modern condensed milk one.
The supermarket own brand condensed milk works just as well as the big brand one. And yes you can sub it with the plant based one. This recipe does only call for half a tin - you can freeze the rest to use later, or make double the recipe because these bad boys keep for MONTHS in an airtight container.
The Perfect Flapjack
Makes one standard traybake (12" x 7") or approx 16 portions
Double the recipe for a 12" square tin.
Ingredients:
110g butter or baking block. Nothing from a tub, or they'll fall apart.
90g sugar - absolutely any will work. The browner the sugar, the more toffee-like the flavour.
Half of a 397g tin condensed milk
60g golden syrup
250g porridge oats
250g dried fruit of your choice
100g nuts & seeds of your choice.
Method:
Preheat your oven to 140C/120C fan. Lightly grease your tray or tin, and line with baking paper. No need to line if you're using a disposable foil tray.
In a large pan over a low heat, melt together the butter, sugar, condensed milk and golden syrup. Keep stirring quite often with a silicon spatula, and DO NOT BOIL IT.
Add the oats to the pan, and mix well until they're all coated with the syrupy mix.
Stir in the dried fruits, and most of the nuts and seeds (reserve some for on top), then tip the whole lot into the baking tray. Please be careful not to burn yourself FFS. Sprinkle over the remaining nuts & seeds and gently press down so they don't all fall off while you're cutting them.
Bake on the middle shelf of the oven for approx. 45 minutes - they should be turning quite golden, and not look wet in the middle.
Leave to cool for 10 minutes, then mark out your portions with a big knife while they're still in the tin. This makes them much easier to cut later.
Once completely cool, cut into slices, lifting them out of the tin with a steel or plastic turner.
These will keep for months in an airtight container in a cool, dry place. Layer them with baking paper to stop them sticking together. They're freezable if you prefer. I freeze them for portion control because I'm a greedy bast***.

Comments